- Flowers
Flower Bulbs Allium Bulbs Anemones Begonia Tubers Crocus Bulbs Daffodil Bulbs Dahlia Tubers Hyacinth Bulbs Lily Bulbs Tulip Bulbs Woodland Flower Bulbs Other Flower BulbsFlower Plants Annual Bedding Plants Children's Flower Plants Clematis Climbing Plants Cottage Garden Plants Exotic Plants Flowers For Cutting Plants Foliage Plants Greenhouse & Indoor Plants Ground Cover Plants Hanging Basket Plants Lavender PlantsHardy Geraniums Herbaceous Border Plants Heuchera Pansies and Violas Patio Plants Water Plants Window Box Plants Winter Bedding Plants Hydrangea Large impact plants Recommended By Our Experts
- Fruit & Vegetables
- Trees, Shrubs & Ornamentals
- House Plants
- Tool Shed
Garden Tools & Equipment Barrows and Trolleys Garden Solutions Harvesting Plant Supports Seed Sowing Tree Stakes Water Butts Weed Control Hand Tools Secateurs, Snips and Pruners WorkshopGarden Irrigation & Watering Irrigation Kits Water Butts Hoses & Sprays Miscellaneous Fertilisers Plant Pots Hanging Baskets Plant Protection Garden Compost All Compost
- Outdoor Living
Garden Living Barbecues & Firepits Garden Storage Solar Lights & Lighting Fixtures & Ornaments Awnings Sail Shades Garden Clocks Landscaping Lawn Edging PavingPatio Heaters Gas Patio Heaters Electric Patio Heaters Fire Pits, Chimeneas, Fire Baskets Wallmounted/Ceiling Patio Heaters Freestanding/Table Top Patio Heaters Water Features Solar Powered Water Features Mains Powered Water Features Indoor Water Features Outdoor Water FeaturesGarden Furniture Rattan Furniture Parasols Garden Benches Dining Sets Loungers Wooden Furniture Party Tents & Gazebos
- Wild Birds
- Gardening Info
- Special Offers
- • Pansies – try Pansy 'Plentifall' Mix bred for a full trailing habit
- • Lobelia – try Trixi ‘Riverside’ which gives you three plants in one
- • Sweet peas – try 'Little Dancer’ for long-lasting colour
- • Verbena – try Samira Deep Red Star for vibrant blooms
- • Heuchera – try ‘Redstone Falls’ for trailing stems cloaked with evergreen foliage
- • Gaillardia – try ‘Fanfare’ which copes well with dry soil
- • Lavender – try our fragrant lavender collection
- • Clematis – try ‘Armandii’ for pristine white blooms and delicate fragrance
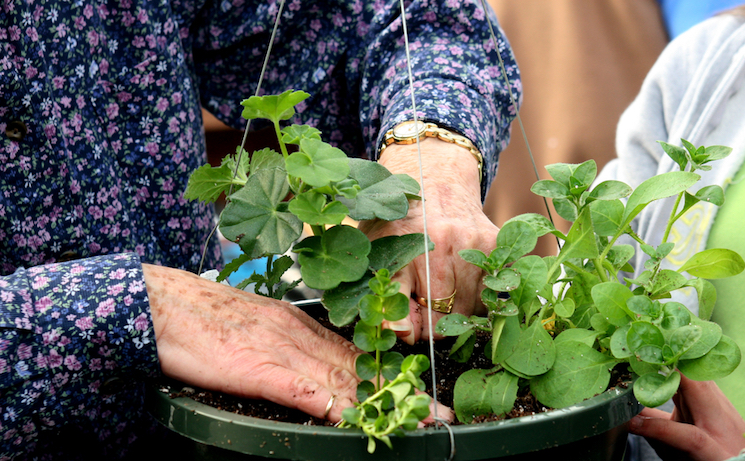
- 1. Place your empty basket on a bucket to hold it steady while you plant.
- 2. Line wire hanging baskets with a pre-cut liner or use sheet plastic disguised by a layer of straw or hessian. Trim off any material which overlaps the rim of the basket.
- 3. Cut a series of 5cm (2 inch) slits around the sides of the basket to allow for trailing plants. To take the hassle out of lining your basket, use a plastic hanging basket or our polypropylene basket with pre-cut holes.
- 4. Add water retaining granules and controlled-release fertiliser to a multi-purpose compost. This helps stop your containers drying out too quickly and feeds your plants through the growing season.
- 5. Fill your basket until the compost is level with the layer of the slits around the side. Firm the compost down gently to get rid of any air pockets.
- 6. Push your trailing plants through the slits ‘head-first’ from the inside. To protect the delicate young growth, wrap your plants in polythene before guiding them through the holes. Position the plant so that the root ball is sitting on the compost surface with the leaves on the outside of the basket.
- 7. When you’ve filled every slit, gently tease out the roots of the plants. Fill around the roots with further compost, filling up the basket to within 5cm (2 inches) of the rim.
- 8. Plant more trailing plants around the rim of the basket – you'll get a more balanced overall shape if you position these to grow in between the plants below. Use bushy upright plants to fill in the centre of your basket.
- 9. Firm in around your plants with compost, aiming to reserve a 2.5cm (1 inch) gap below the rim of the basket so the compost doesn’t get washed away when you’re watering.
- 10. Water your basket well with a fine-rose watering can and either put it in the greenhouse, or hang it in its final position.
How to plant hanging baskets
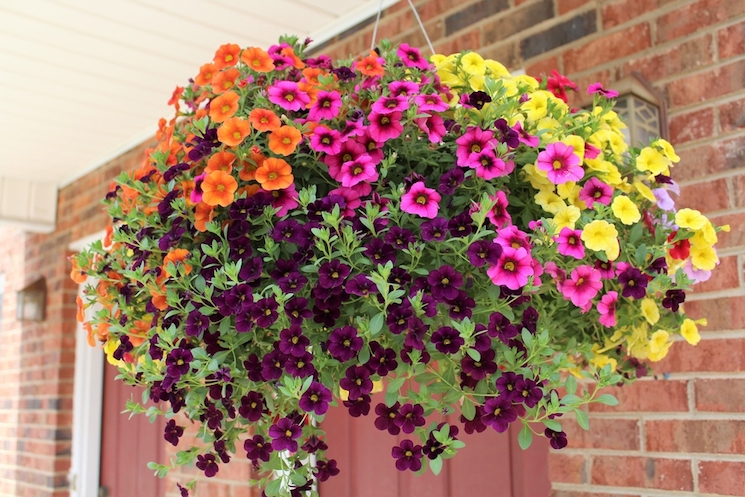
Hanging baskets add instant kerb appeal.
Image: ShutterstockMake hanging baskets the dazzling centerpiece of your garden display this year. With a little forward planning, you can adorn walls, fences and gates with beautiful trailing foliage, stunning blooms, and even some tasty fruit, veg and herbs. Here’s our guide to help you get the best from your baskets this season.
When to plant hanging baskets
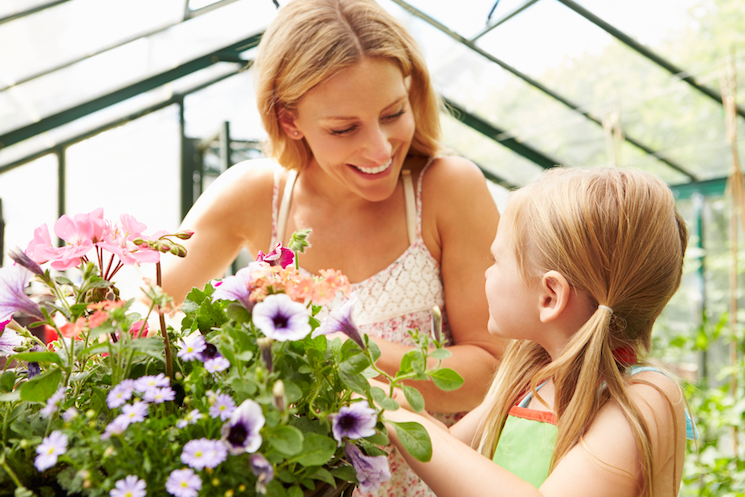
Keep your hanging baskets in the greenhouse until all threat of frost has passed.
Image: ShutterstockGet your hanging baskets planted up in April before bringing them on in your greenhouse until May or early June. Not only does the extra warmth give the plants a boost, it also protects them from any unexpected late frosts.
If you don’t have access to a greenhouse, just leave your planting a little later – until May or even early June, when all risk of frost has passed. Or, if winter baskets are your thing, do your planting early in the autumn – in September or October.What to plant in hanging baskets
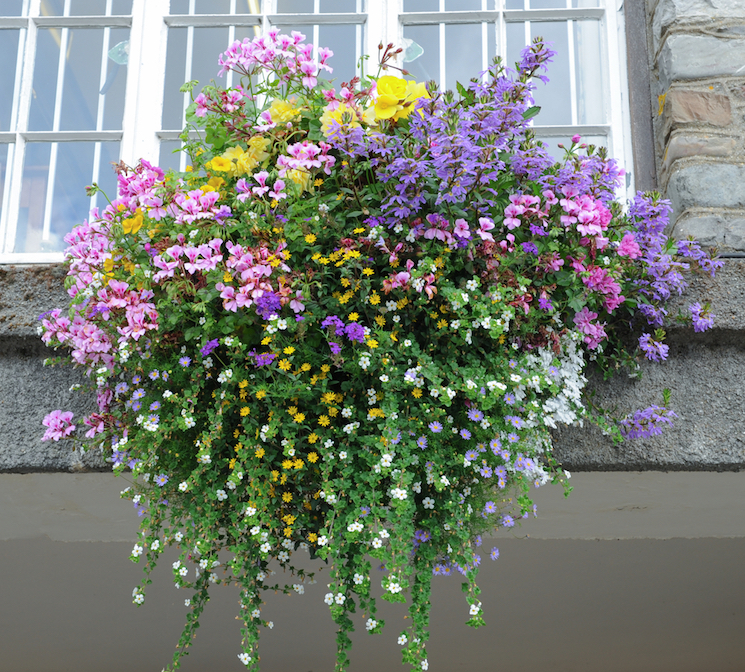
A mixture of flowers including some trailing varieties have a huge impact.
Image: ShutterstockChoose a colour theme, go heavy on scent, favour foliage, or simply select a range of hanging basket plants that offer a vibrant multi-hued splash. With so many options for hanging baskets, it can be hard to know where to start when choosing what to plant.
Annuals that look good in hanging baskets include:Perennials that look good in hanging baskets include:
Don’t forget to include some delicious strawberries in your baskets – it’s a great way to protect your crop from slugs.
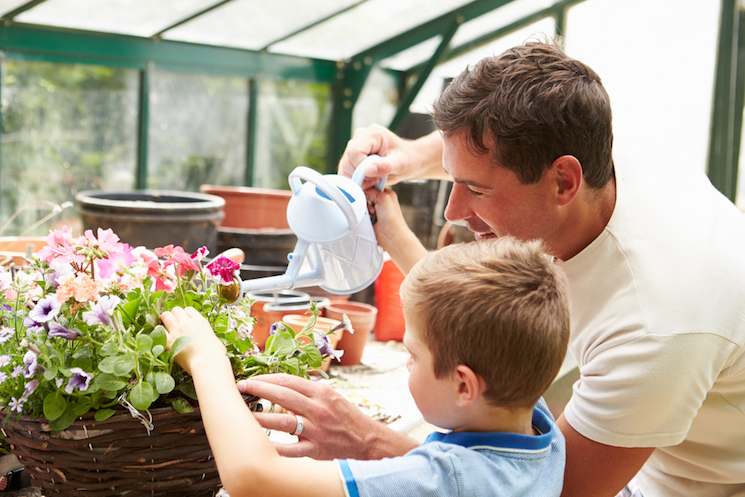
How to plant a hanging basket
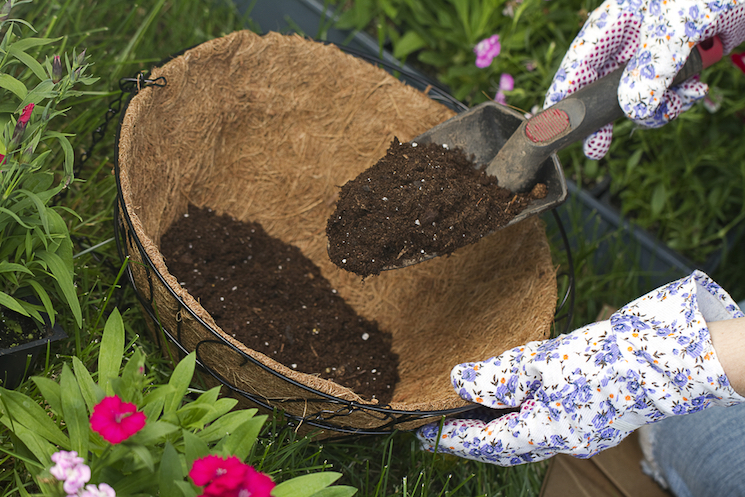
Pre-cut coco liners are quick and easy.
Image: ShutterstockFor hanging baskets the general rule is to use one plant per inch of basket diameter – so 12 plants per 12 inch basket. You’ll only need 5 plants per 12 inch hanging basket for bigger plants like Geraniums (Pelargoniums), Surfinia Petunias, culinary herbs and Fuchsias.
Here’s what you need to do:How to look after hanging baskets
Planting outside
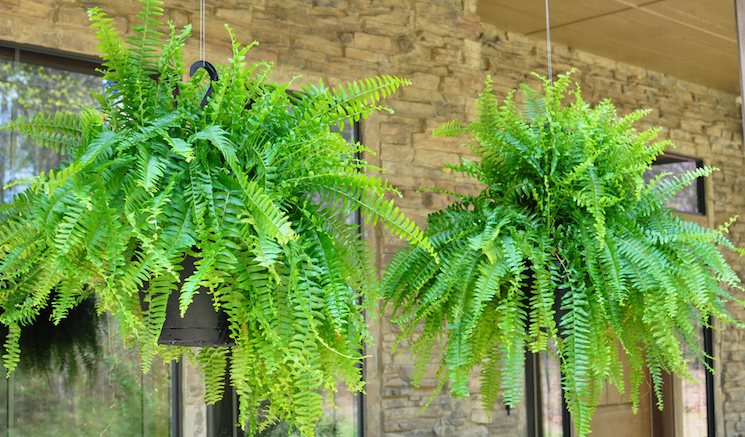
Not all baskets require full sun - these ferns prefer a shadier spot.
Image: ShutterstockYou can bring your hanging baskets outside as soon as the risk of frost has passed. If you've been growing baskets indoors then the plants will need to be hardened off for a week before placing in their final positions outside.
Provided your plants aren't shade-loving, place them in a sunny position, avoiding windy and exposed sites if possible.Watering
Baskets should be watered regularly, especially while under cover or in the greenhouse.
Image: ShutterstockBecause hanging baskets can dry out quickly in warm weather, do make sure you check the compost regularly and water it thoroughly. If the top half inch of compost feels dry then your container needs watering. If you can't reach into your hanging basket to feel the compost, try lifting it from beneath – if‘s is lightweight and easy to lift then it definitely needs watering!
Feeding
Add a controlled release fertiliser when planting.
Image: ShutterstockIf you opted to use a controlled release fertiliser when planting, you shouldn’t need to add extra fertiliser during the growing season. If you need to fertilise, use a balanced liquid feed every few weeks to sustain healthy growth and flowering. Only feed container displays between April and October.
Deadheading
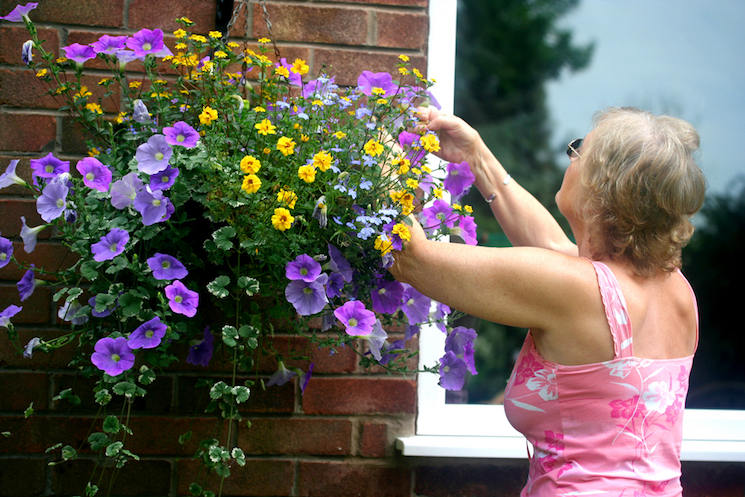
Regular deadheading will help produce a more spectacular display.
Image: ShutterstockTo get the best from your hanging baskets, do spend some time deadheading. Removing faded flowers stops the plant producing seed and wasting energy it could otherwise use on producing more beautiful flowers.
With a little care your hanging baskets should give you a colourful display from early summer right through until the first frosts of autumn. Enjoy! - House Plants